LiveCapture Virtual Deployment
If you have not already done so, extract the contents of the LiveCapture Virtual zip to your Hyper-V server.
1. Open Hyper-V Manager.
2. From the menu in Hyper-V Manager, click .
3. If the Before You Begin screen appears, click .
4. Browse to the folder that contains the extracted LiveCapture Virtual files, and click .
5. Select the LiveCapture Virtual machine to import, and click .
6. Choose Copy the virtual machine as the import type, and click .
7. On Choose Folders for Virtual Machines Files, specify new or existing folders to store the VM files and click .
8. On Choose Folders to Store Virtual Hard Disks, specify the folder to store the virtual hard disk files and click .
9. After verifying your choices in the Summary page, click .
10. Wait several minutes for the import to complete.
11. In Hyper-V Manager, right-click the LiveCapture Virtual machine and select Settings…
12. Select the first Network Adapter in the Hardware tree.

13. Specify the Virtual switch you wish to use for the Management connection, click .
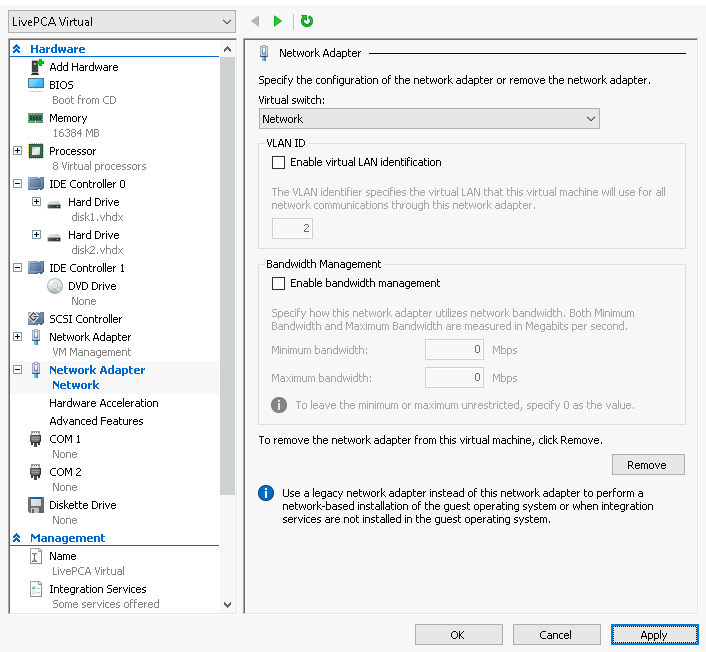
14. Select the second Network Adapter in the Hardware tree.
15. Specify the Virtual switch of the virtual machines you wish to monitor, click .
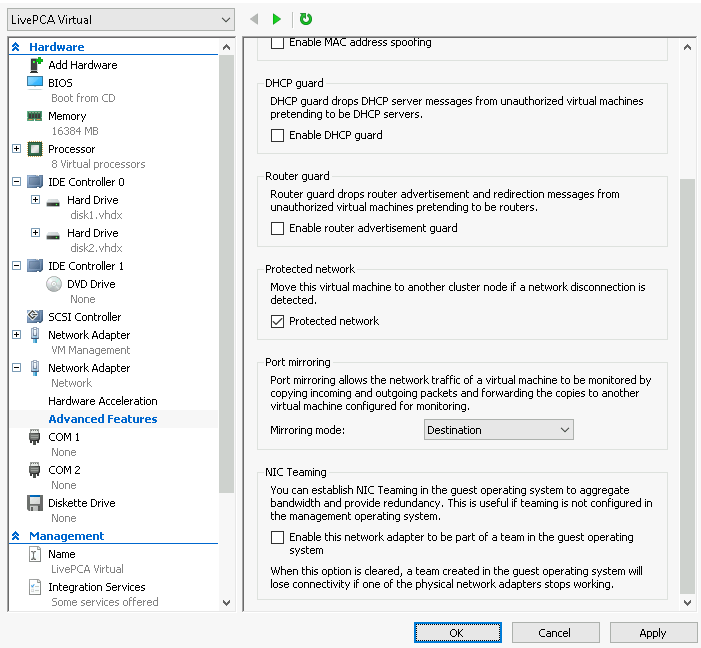
16. Expand the selected Network Adapter and select Advanced Features.
17. In the Port mirroring section, select Destination as the mirroring mode, click .
18. In Hyper-V Manager, right-click the LiveCapture Virtual machine and select Connect…
19. In the Virtual Machine Connection window, select Action > Start.